Domenico StefaniResearch and Coding
        ##### ##                                      /##       ###
     ######  /###                                   #/ ###       ###    #
    /#   /  /  ###                           #     ##   ###       ##   ###
   /    /  /    ###                         ##     ##             ##    #
       /  /      ##                         ##     ##             ##
      ## ##      ##  /###   ###  /###     ######## ###### /###    ##  ###       /###
      ## ##      ## / ###  / ###/ #### / ########  ##### / ###  / ##   ###     / ###  /
    /### ##      / /   ###/   ##   ###/     ##     ##   /   ###/  ##    ##    /   ###/
   / ### ##     / ##    ##    ##            ##     ##  ##    ##   ##    ##   ##    ##
      ## ######/  ##    ##    ##            ##     ##  ##    ##   ##    ##   ##    ##
      ## ######   ##    ##    ##            ##     ##  ##    ##   ##    ##   ##    ##
      ## ##       ##    ##    ##            ##     ##  ##    ##   ##    ##   ##    ##
      ## ##       ##    ##    ##            ##     ##  ##    ##   ##    ##   ##    ##
      ## ##        ######     ###           ##     ##   ######    ### / ### / ######
 ##   ## ##         ####       ###           ##     ##   ####      ##/   ##/   ####
###   #  /
 ###    /
  #####/
    ###
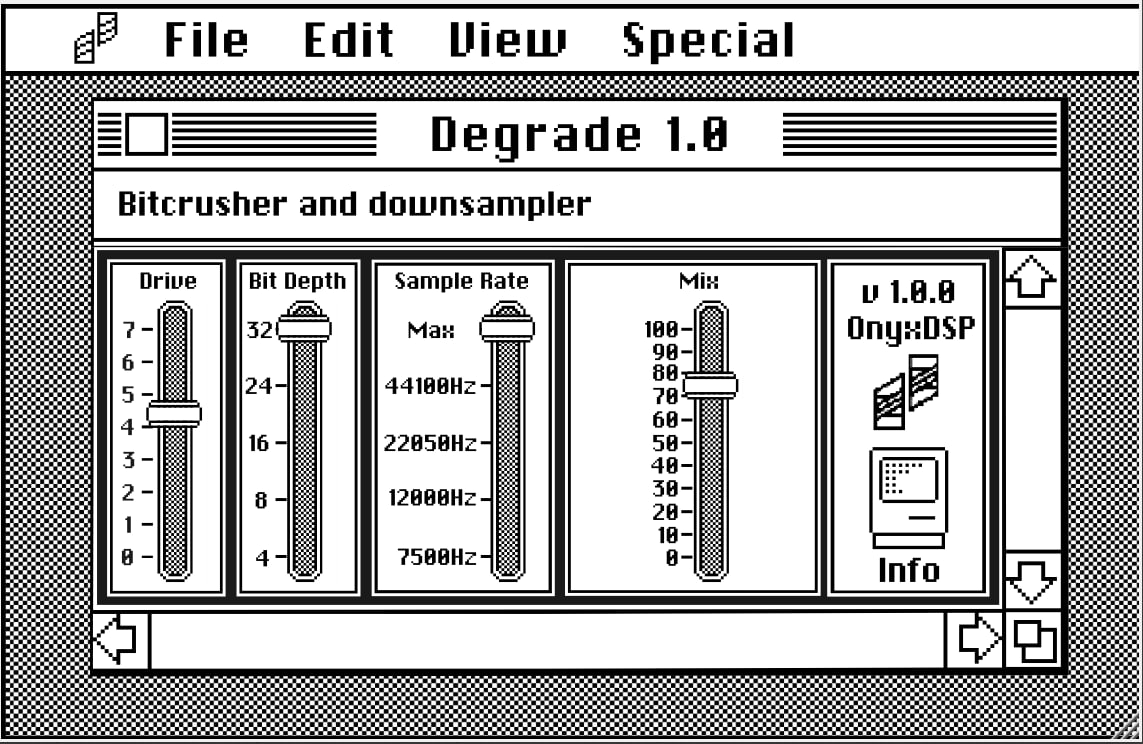
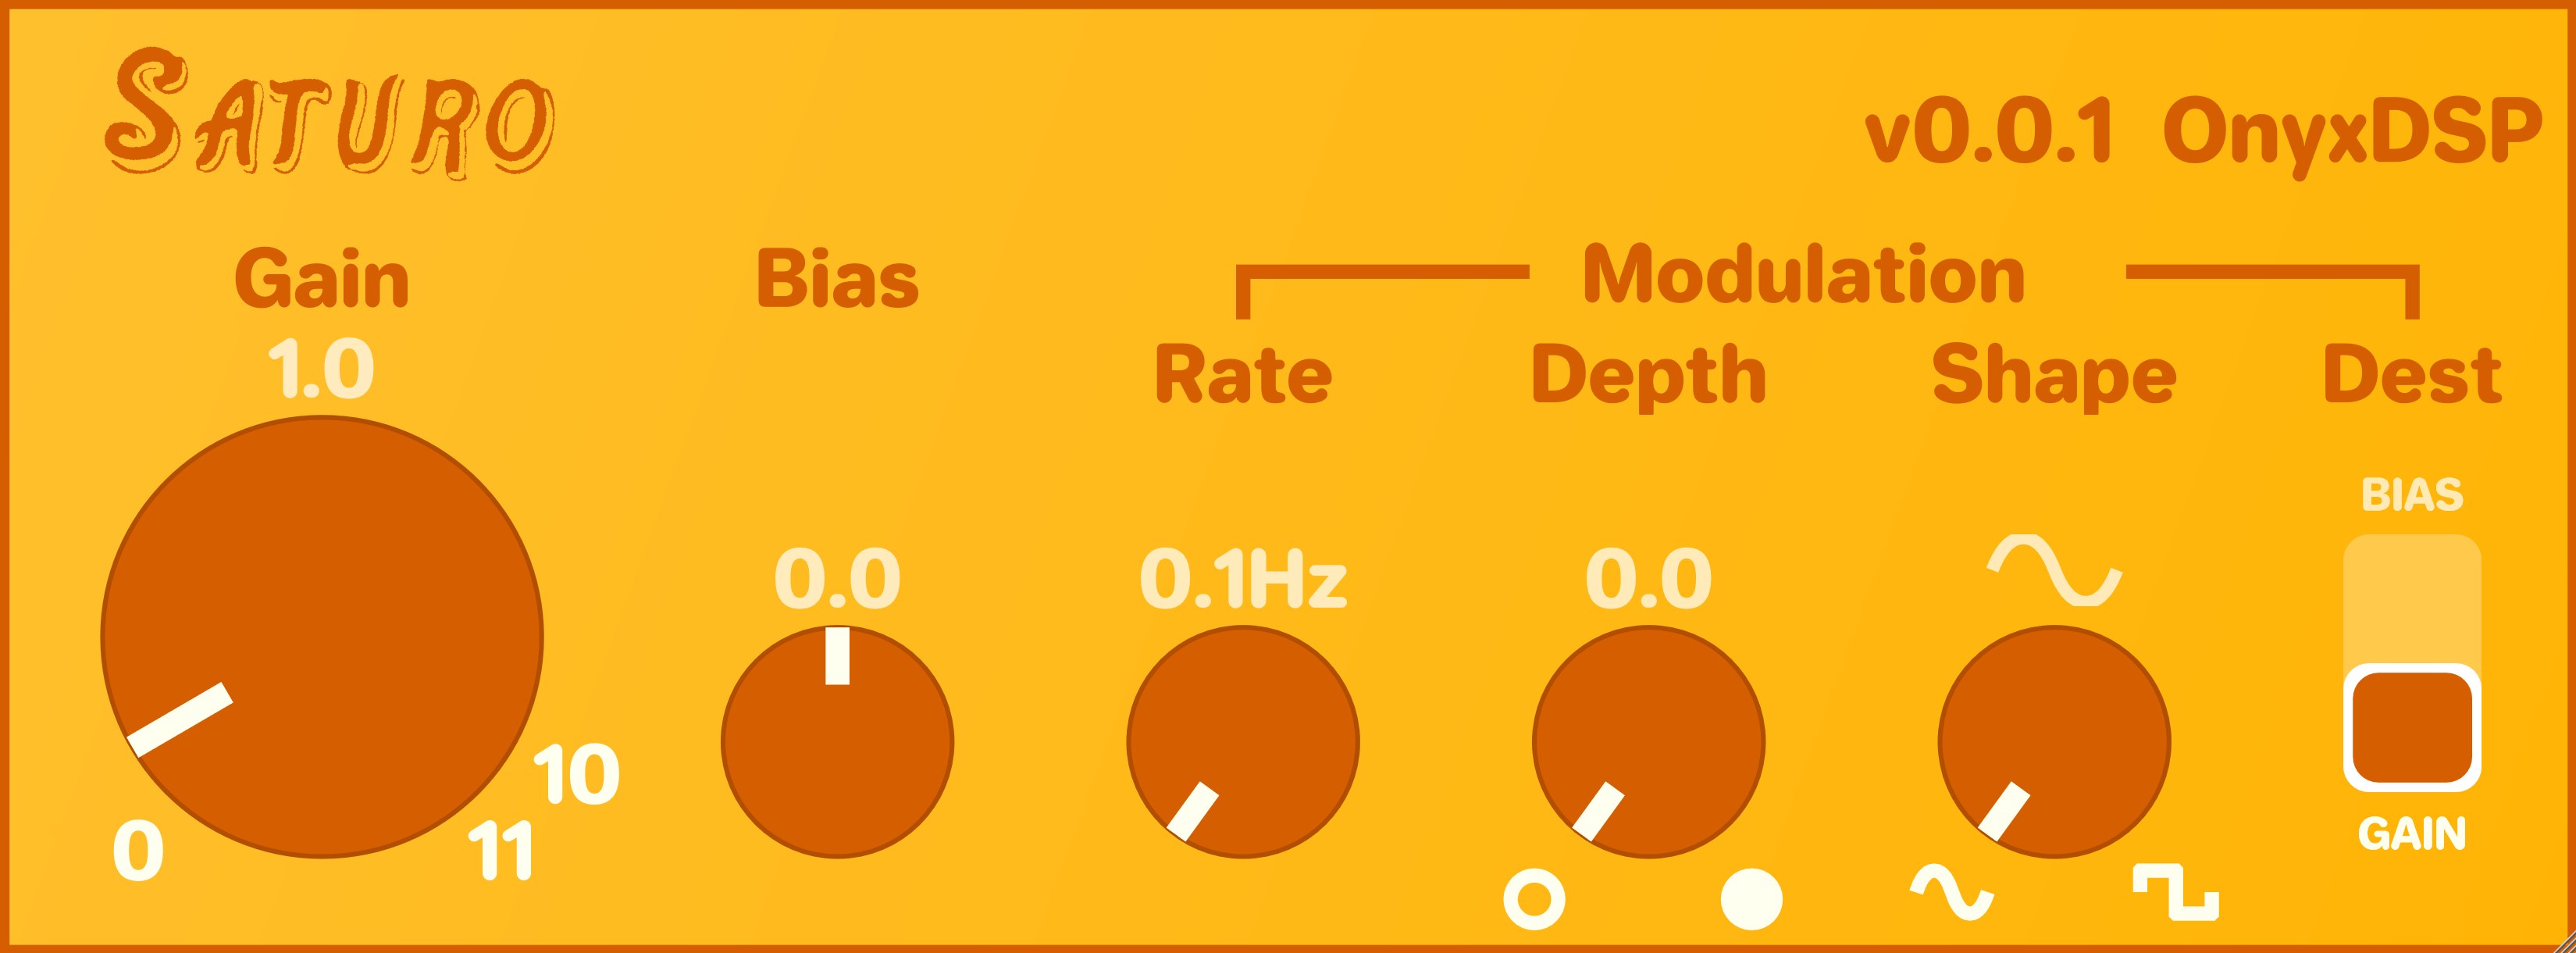
Recently, I have been working on creative and quirky audio effects under the name Onyx DSP .
The first installment is Saturo: a saturation plugin (VST & AU, Windows, macOS, Linux) with bias control and a built-in modulation section.
I developed Saturo's DSP engine with the Faust Language to get comfortable with the language. Faust code was then transpiled to C++ and integrated into a JUCE plugin.
The simple GUI was made with JUCE's gui module.
Saturo is currently in beta, and you can try it out by contacting me through the beta program page.
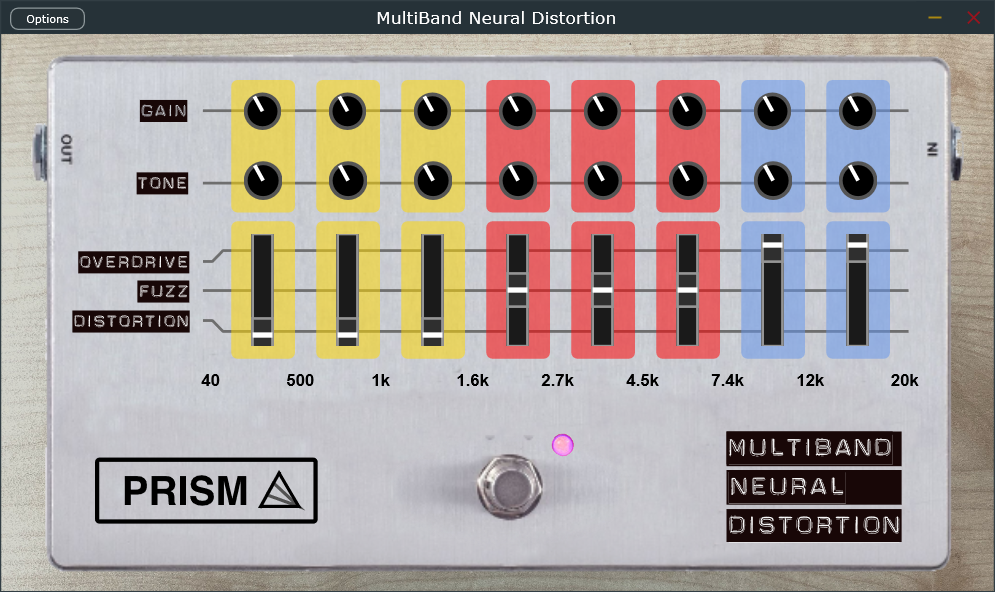
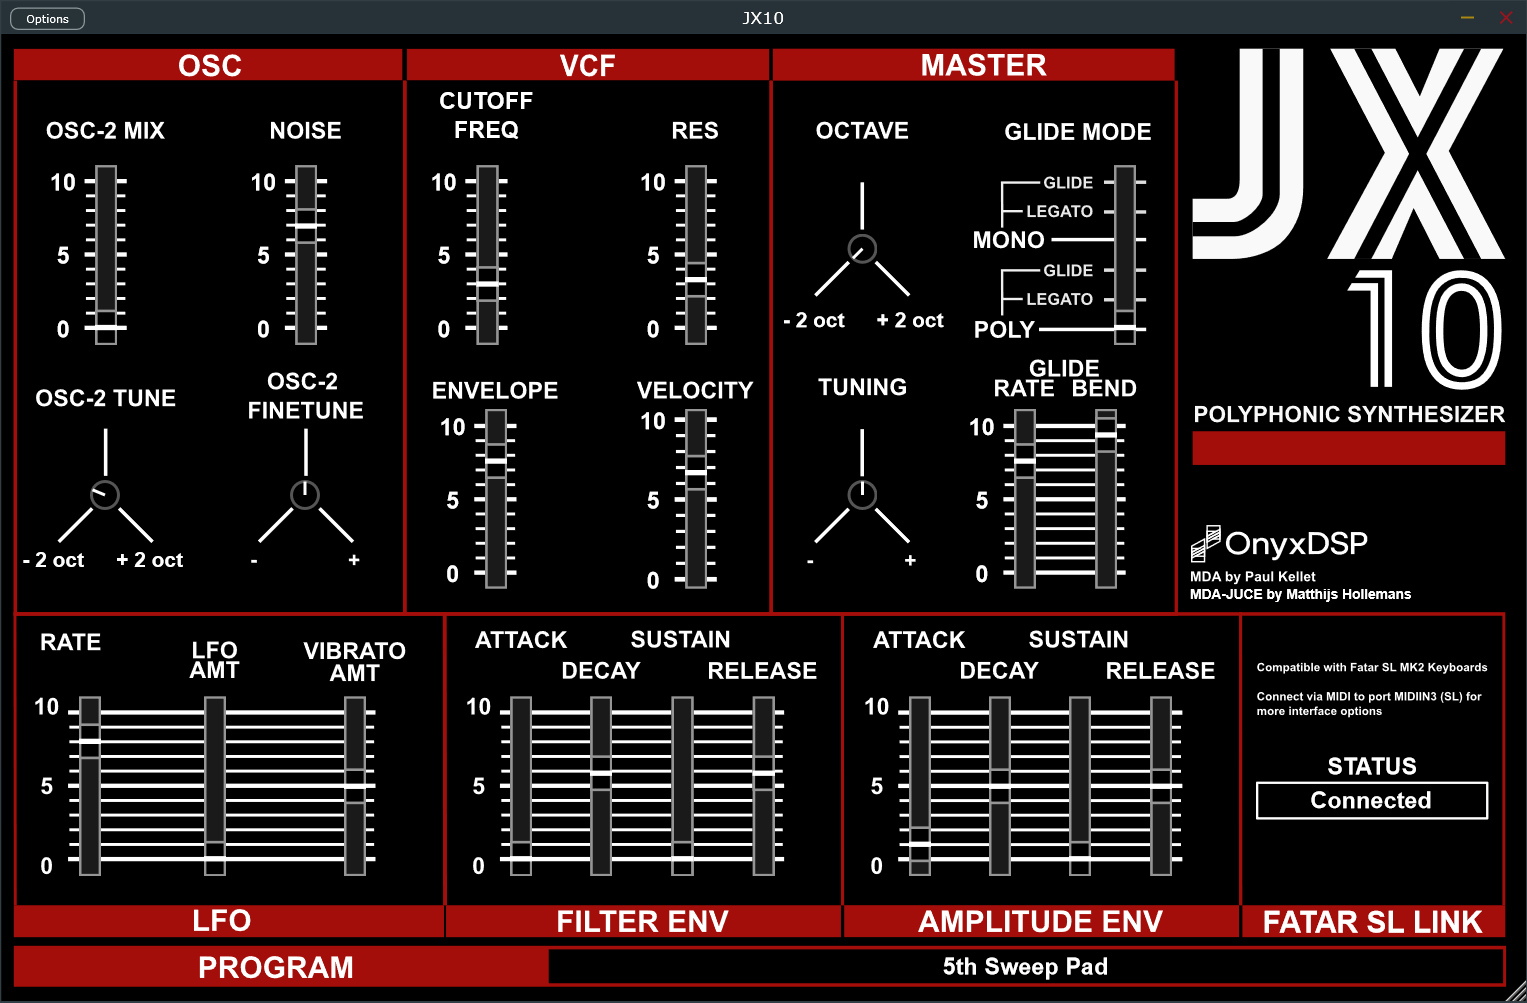
Here are some snapshots of upcoming Onyx DSP projects:
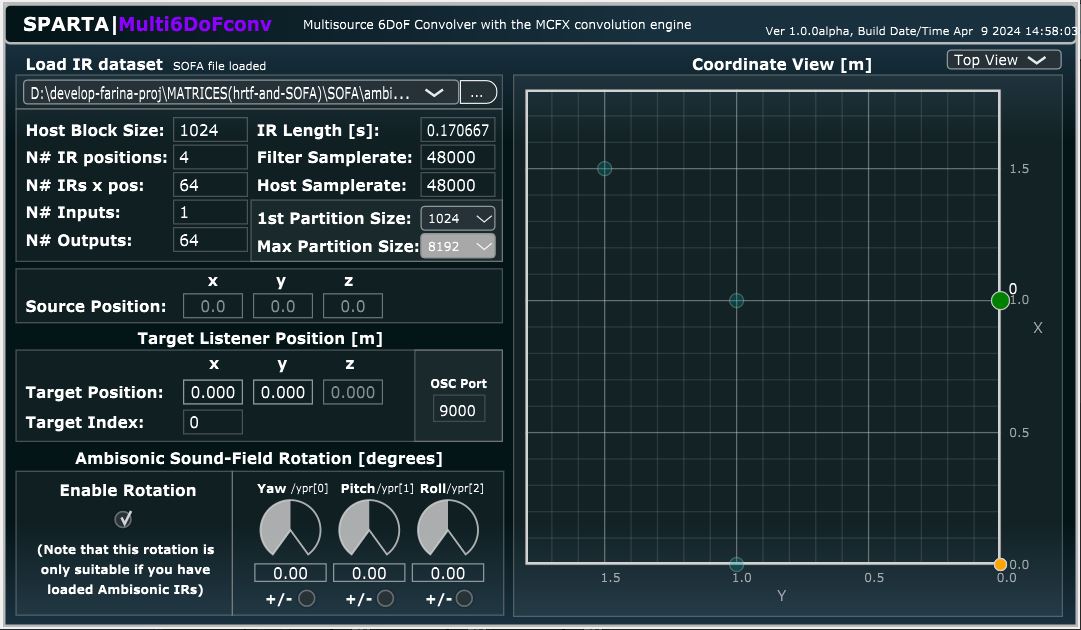
Last year I worked on a multisource 6 Degrees of freedom convolution plugin to extend the SPARTA 6DoF plugin with the capabilities of the MCFX Convolver engine. You can find the repository here: github.com/domenicostefani/SPARTA_Multi6DoF_project
I've previously worked at adding some features to the MCFX Convolver plugin, such as master gain control and functions to save parameters inside the metadata of WAV files. See the repository here: github.com/domenicostefani/mcfx-mod
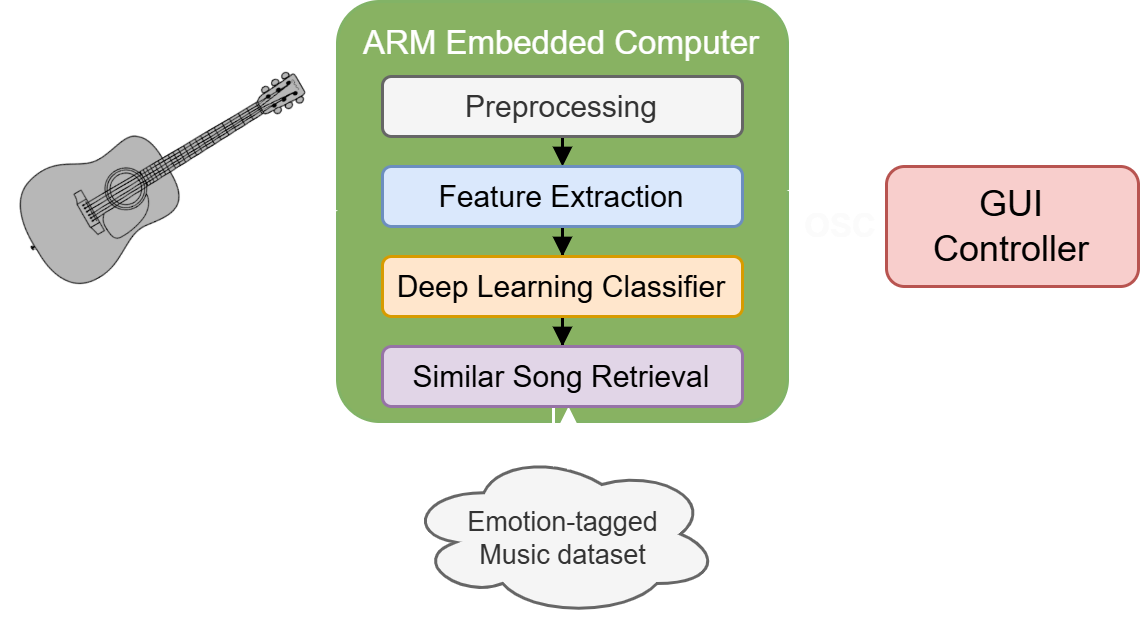
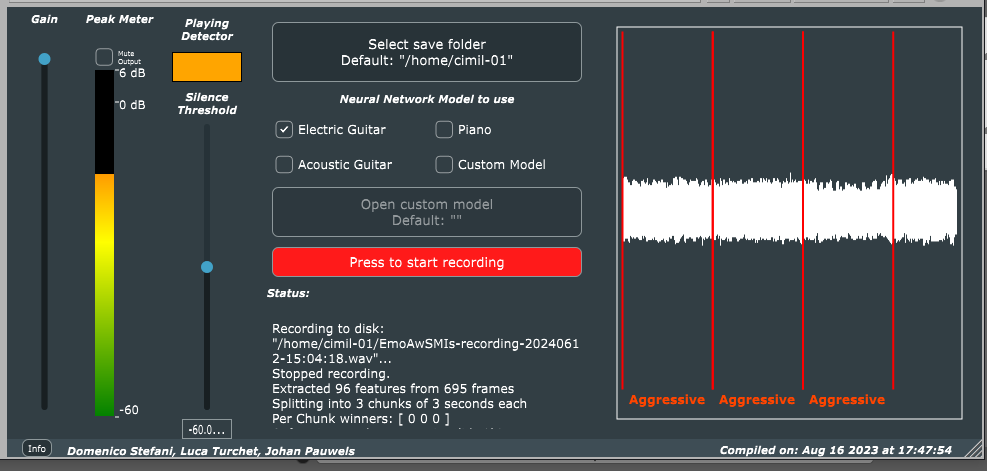
In 2023 I developed a Deep learning audio plugin for emotion classification.
The plugin can run on both regular computer and an embedded computer (Raspberry Pi 4 with Elk Audio OS).
The creation and training of the classification model was done by Johan Pauwels and the plugin was developed by me, which included input audio resampling, feature extraction (coherent with the Python training process) and model inference using TensorFlow Lite.
github.com/domenicostefani/music-emotion-classification-vst
A video of the system running on the embedded platform can be found here: youtu.be/MiHcn7VHEHA
Details about the emotion recognition systems are available in the following paper (in press): L.Turchet,D.Stefani,J.Pauwels "Musician-AI partnership mediated by emotionally-aware smart musical instruments", International Journal of Human-Computer Studies
Ultimately, I developed this static website from the ground up with just HTML and CSS (and the tinyest bit of javascript)
2020 - Synthesizer game for two
In 2020 a colleague and I developed a "synthesizer game" for two players as a
project.
The system was somehow inspired by the Dato Duo synth for two.
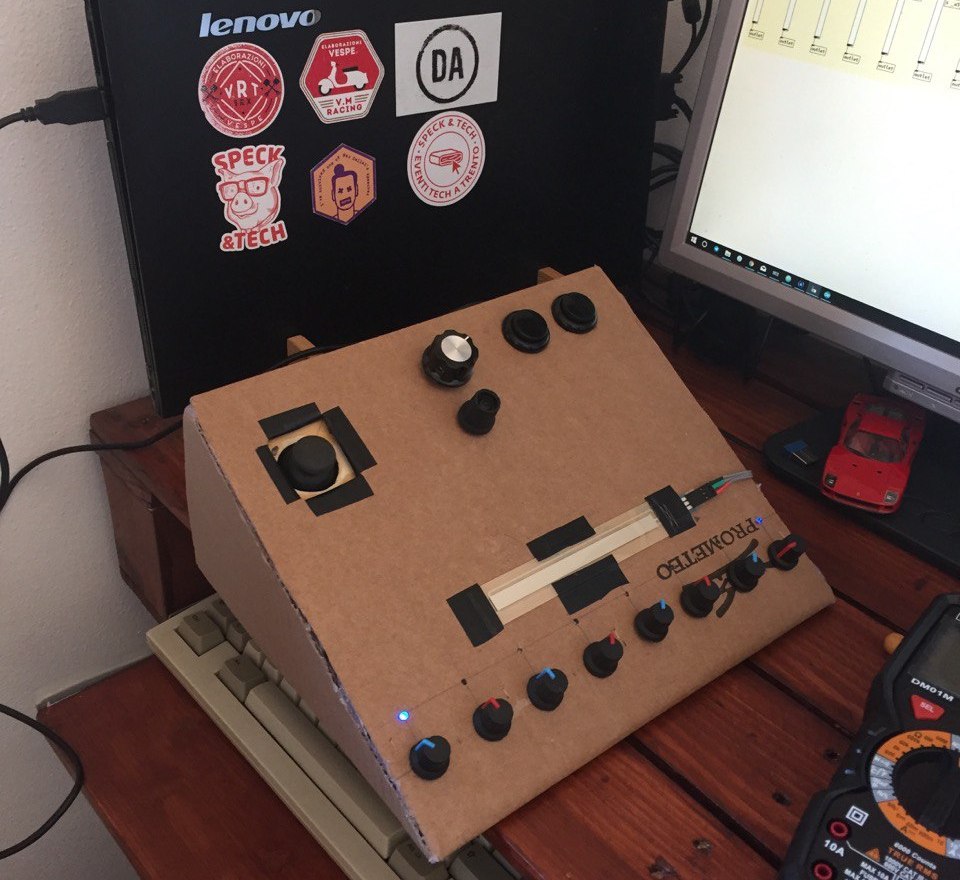
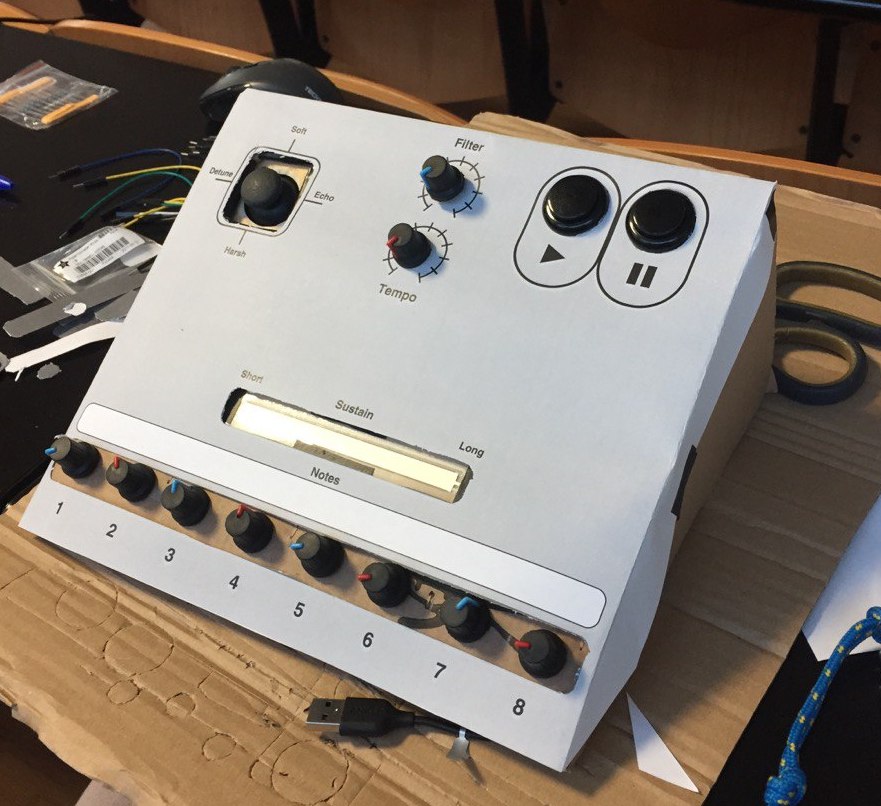
We however designed a system where one player would play both melody and rhythm on a synthesizer interface, while
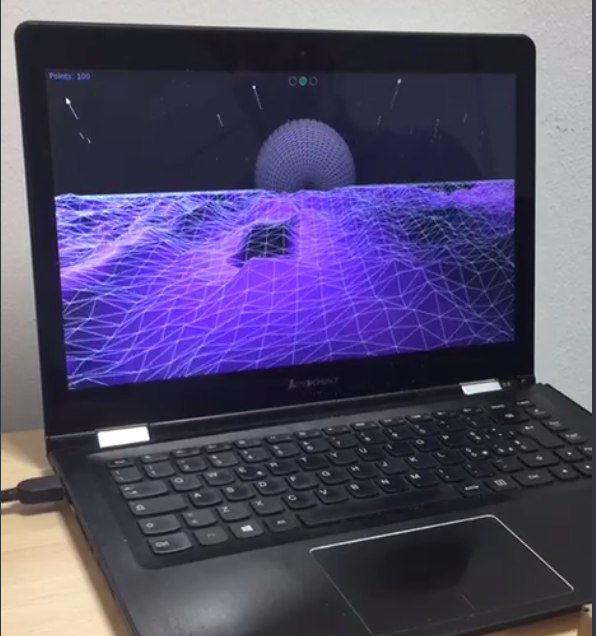
the other player would have to learn to shake a game controller in time with the rhythm to control a video synthesis
program.
We got to experience with:
- Puredata (sound synthesis, sequencing, effects and DSP in general)
- Raspberry Pi (Running headless Pd)
- Open Sound Control (Communication between Video generation computer and synth part)
- Teensy (Game controller data acquisition)
- Processing 4 (video synthesis)
Synth Details
Components:- 8-step sequencer, knob-controlled pitch
- Sustain-length controlled via a ribbon (softpot)
- 4-way analog lever controlling a low-pass filter, delay effect and pitch shifter
- Main tempo knob
- Play/Stop buttons
2021 - Photography Darkroom Timer
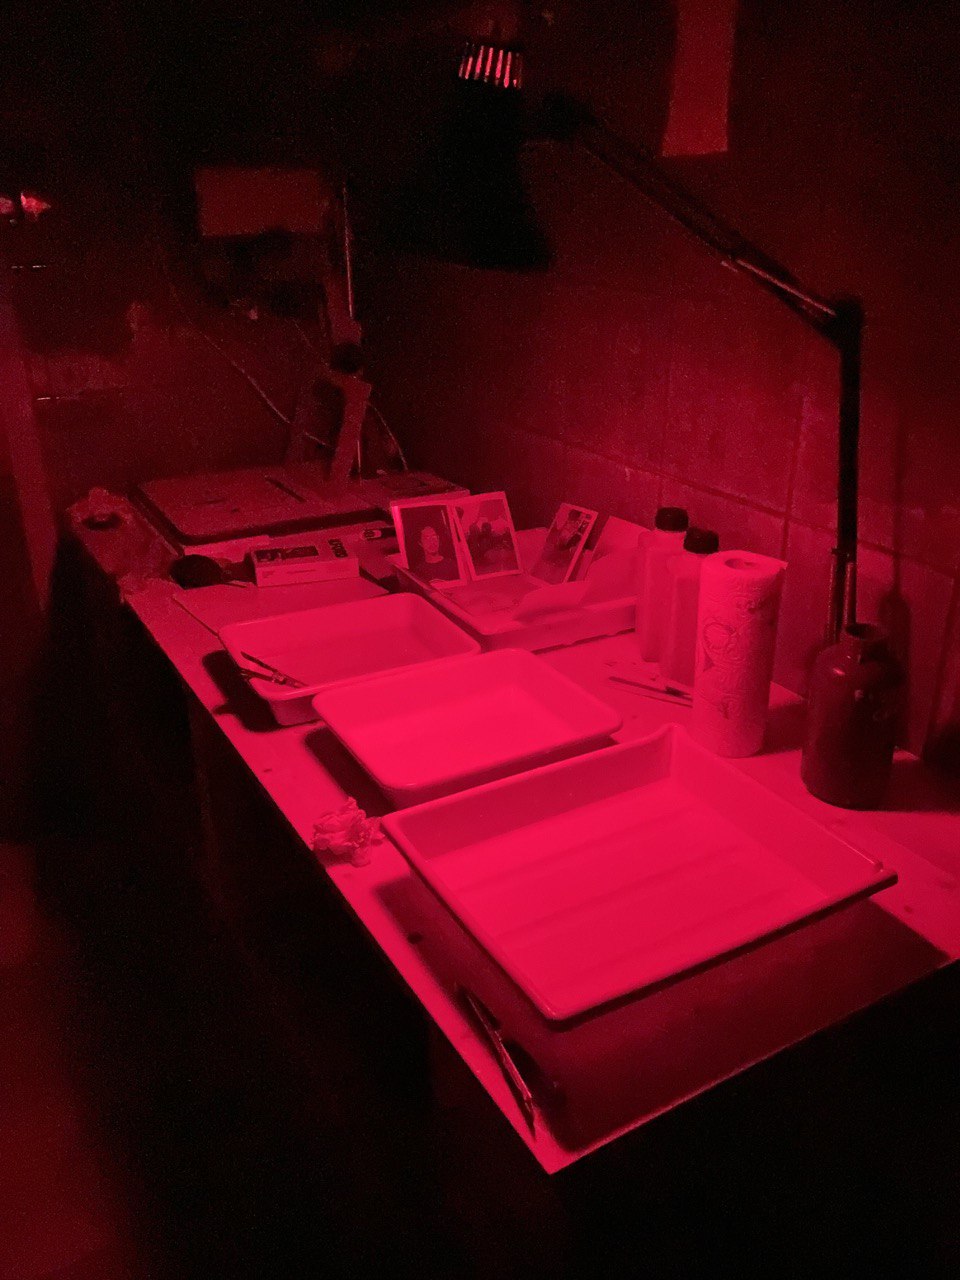
During 2020 I got into analog photography printing and set up a darkroom with black and white
basic enlarger and chemicals.
My enlarger didn't come with a timer, and I got quickly tired of using a stopwatch to time the exposure of my prints.
So I decided to build a timer myself, which turned out to be much more advanced than I expected, since darkroom
timer technology has stopped evolving a while ago.
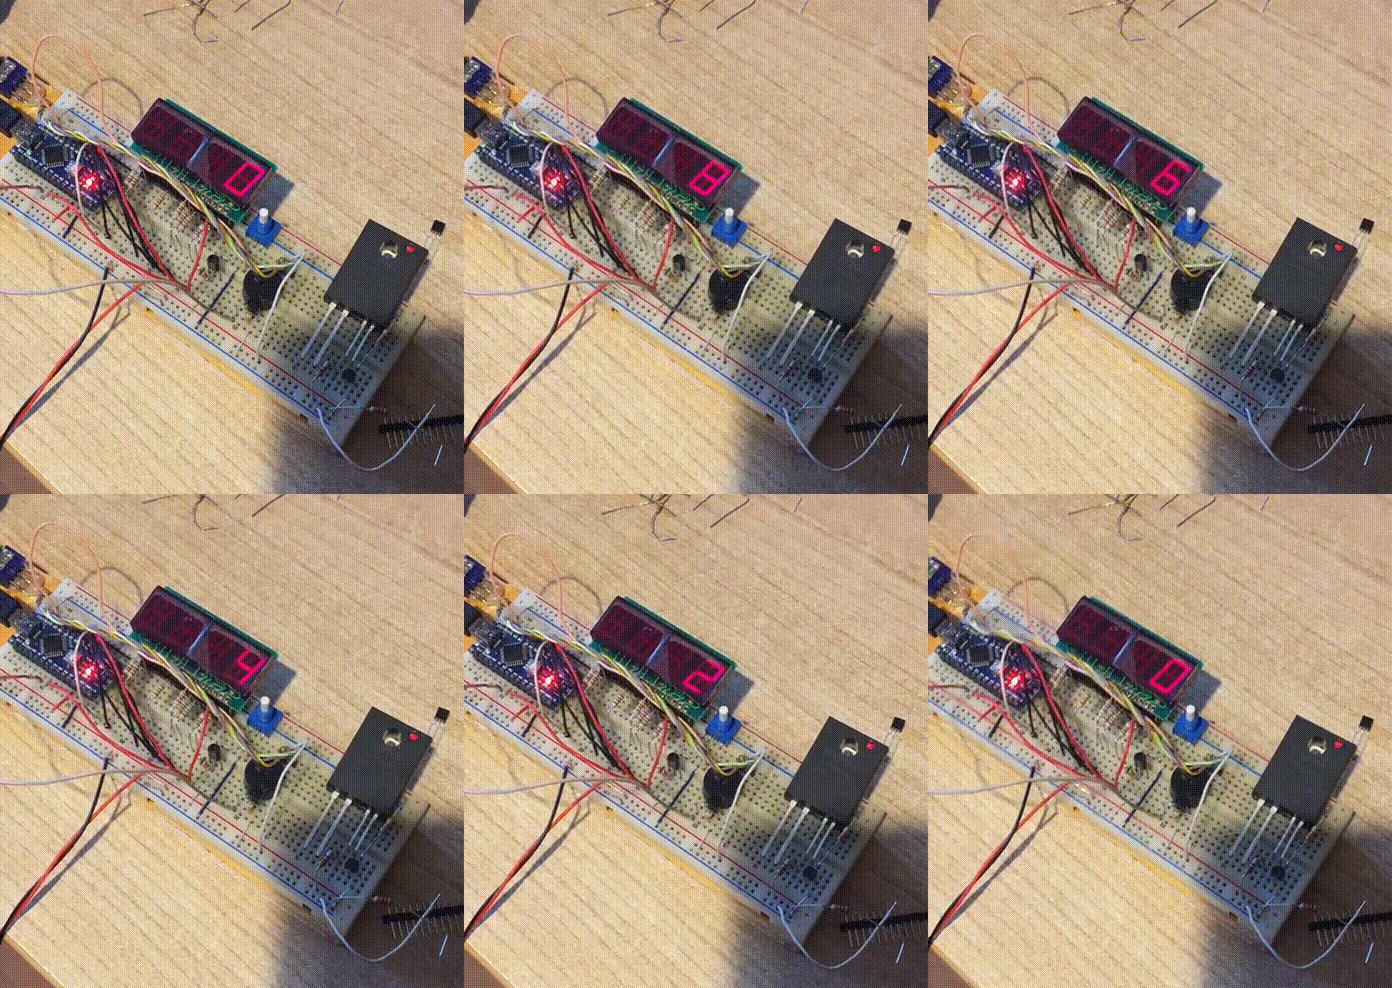
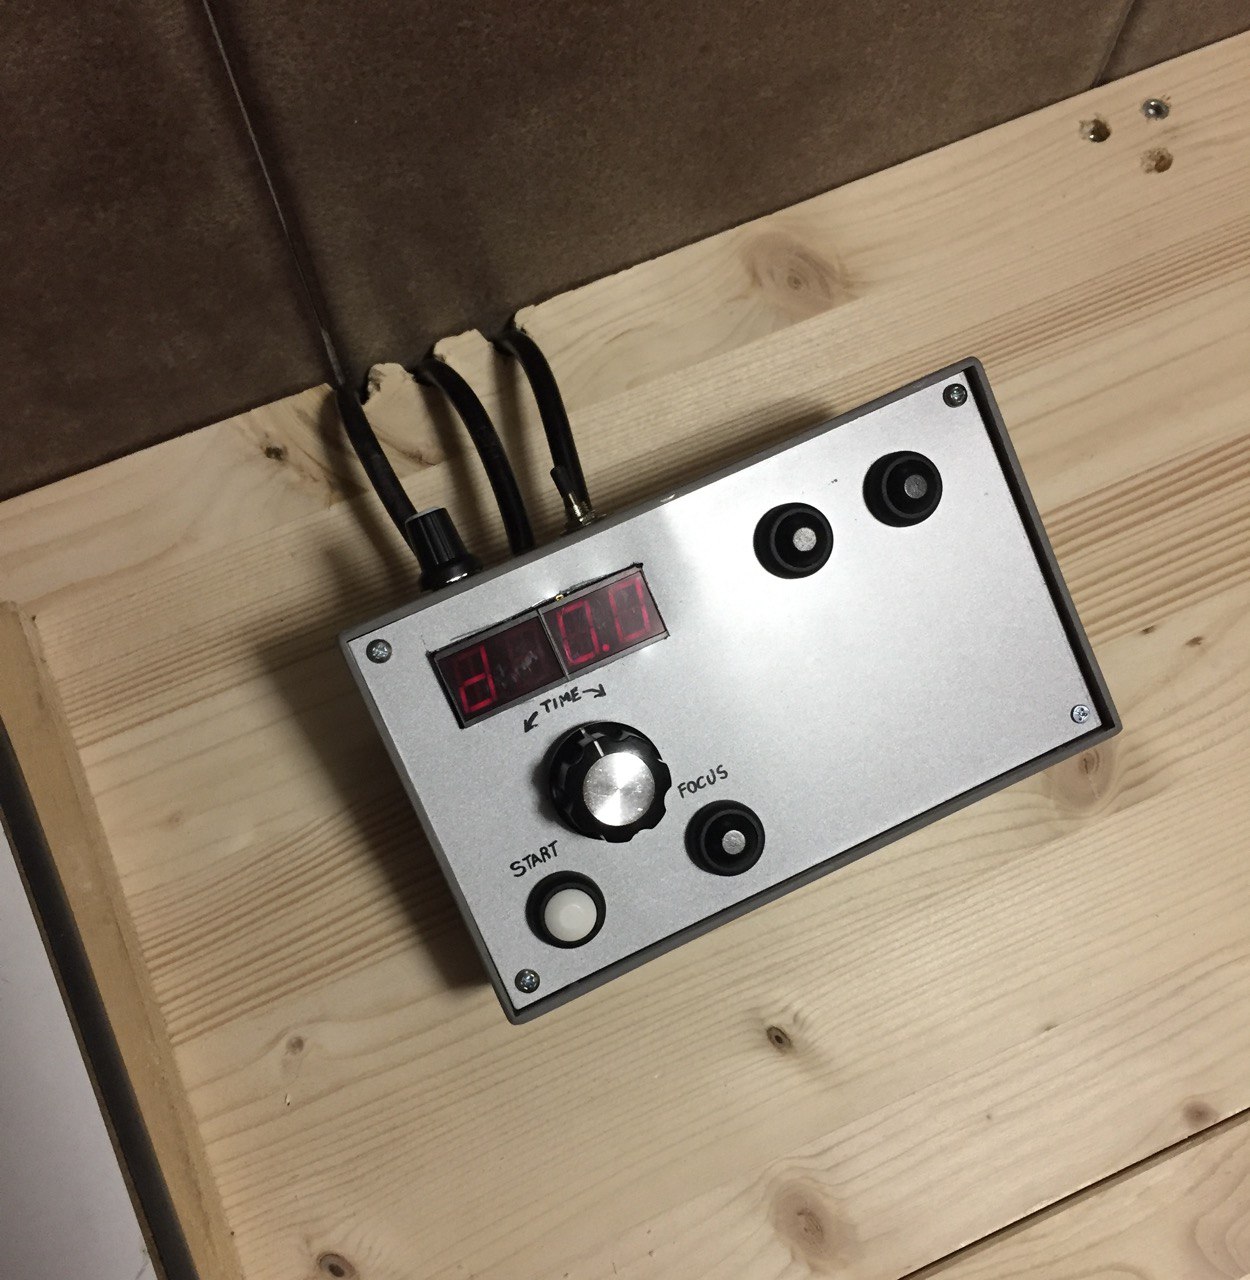
The timer is based on an Arduino Nano, a 4-digit 7-segment display, a rotary encoder, a bunch of buttons and a relay to
route AC mains to either the enlarger or the red safelight.
The main functions were:
It included a focus mode to manually toggle the enlarger on and off.
- Count-down timer to precisely time a single exposure,
- Count-up timer to experiment more freely with exposure times,
- Contact sheet mode: Count-up timer with tunable beep intervals to automatically expose a contact sheet with a set of negatives,
- Mask Modes: Count-up timer with precount and beeps to help with manual on-the-fly dodging and burning.
